Daily Digest of Stuff that i like / don't...
this is your daily soup ...
enjoy it!
jueves, 19 de mayo de 2016
Google Cloud Vision API Documentation
Cloud Vision API allows developers to easily integrate vision detection features within applications, including image labeling, face and landmark detection, optical character recognition (OCR), and tagging of explicit content.
Quickstart
Before you begin
If you haven't done so already, set up your project and create a Google Cloud Storage bucket, as explained below.
Set up your project
In the Cloud Platform Console, go to the Projects page and select or create a new project.
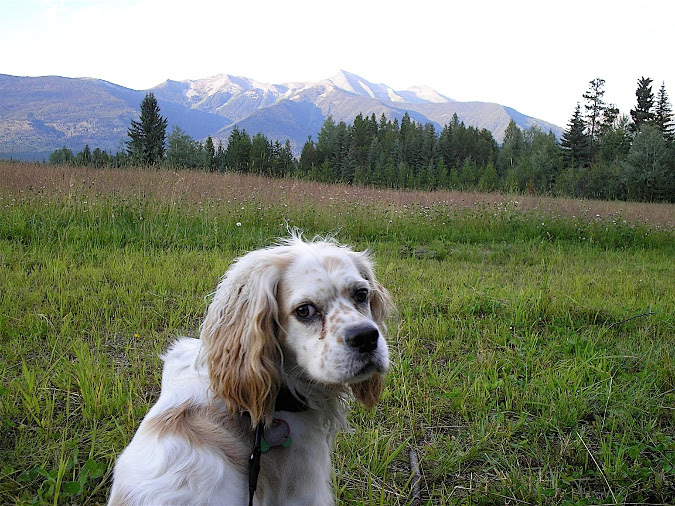
Open the Cloud Platform Console Storage Browser, select a bucket, then click UPLOAD FILES and select the demo-image.jpg file to upload from your local machine to your Cloud Storage bucket.
This is the image file that you just uploaded:
After the file is uploaded and listed in the Cloud Storage Browser, share the image publicly by clicking the Public link box in the right column of the listing.
Complete the interactive API Explorer template, below, by replacing bucket in the source→gcsImageUri field with the name of the Cloud Storage bucket where you uploaded the demo-image.jpg file.
Authorize requests using OAuth 2.0:
fields
Selector specifying which fields to include in a partial response.
Use fields editor
Request body
{
"requests":
[
{
"features":
[
{
"type":
""
}
]
"image":
{
"source":
{
"gcsImageUri":
""
}
}
}
]
}
Execute without OAuth
Click Execute without OAuth to send the request to the service (you may have to click twice). After less than one second (typically), the JSON response appears above.
Congratulations! You've made your first images.annotate request to the Cloud Vision API service.
Clean up
To avoid unnecessary Google Cloud Platform charges, use the Cloud Platform Console to delete your Cloud Storage bucket (and your project) if you do not need them.


No hay comentarios:
Publicar un comentario